Struggling with blurry, incomplete screenshots that butcher your laptop’s visual magic? Ditch the frustration, my friend! This ultimate guide equips you with ninja-level screenshot skills, transforming you from a casual snapper to a screen-capturing extraordinaire.

Whether you’re a student nabbing lecture notes, a gamer preserving epic wins, or a designer showcasing your masterpiece, this comprehensive crash course has you covered. Dive deep into the hidden potential of your keyboard, explore third-party tools, and even master annotation art—all in a language that’s as clear and friendly as a steaming cup of chai!
So, grab your laptop, buckle up, and get ready to:
- Become a Keyboard Commando: Master the magic of Print Screen, Alt+Print Screen, and the super-powered Windows key +Print Screen for instant screen grabs.
- Snip Smarter, Not Harder: Unleash the Snipping Tool’s potential—capture specific regions, add delays, and even draw on your screenshots like a digital Picasso.
- Third-Party Powerhouses: Discover the best free and paid tools that elevate your screenshot game, from annotation masters to scrolling webpage captures.
- Pro-Level Customization: Learn how to edit, resize, and optimize your screenshots for maximum impact, making them shine on social media or presentations.
- Bonus Round: Beyond the Basics Explore advanced techniques like screen recording, timed screenshots, and watermarking to truly unlock your screenshot mastery.
Ready to level up your screenshot game? Let’s dive in!

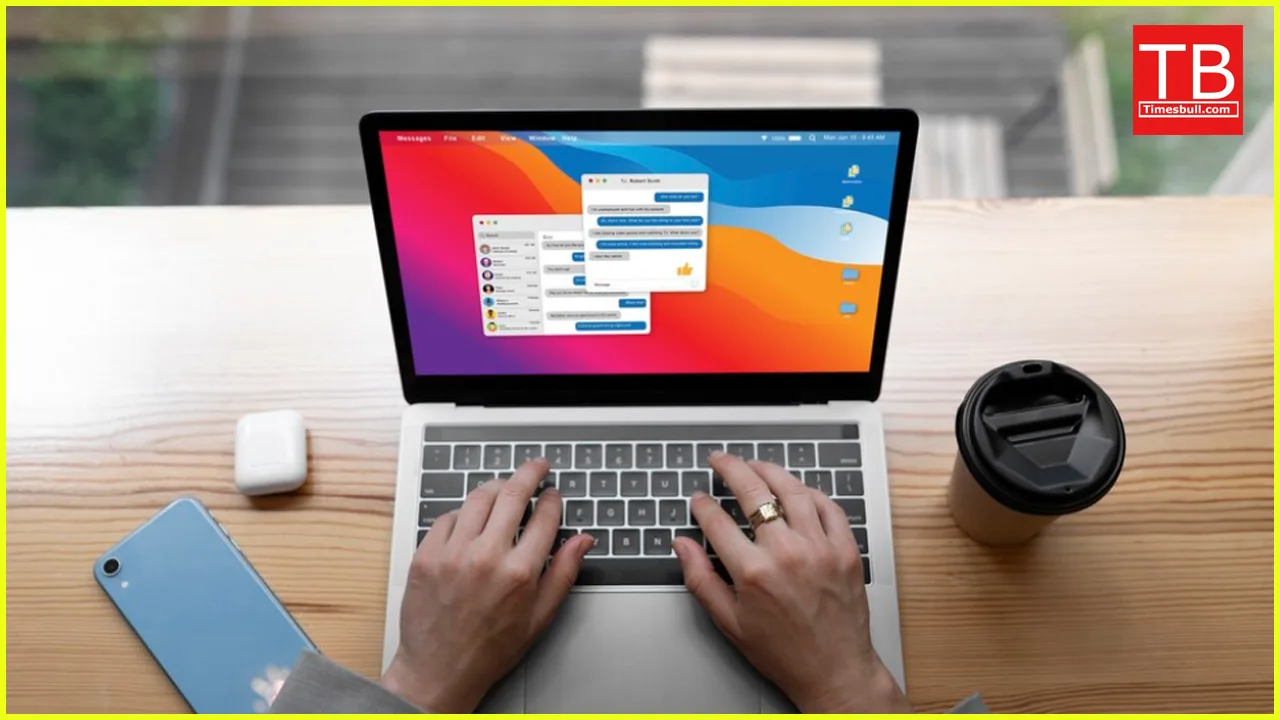
Keyboard Kung Fu: Mastering the Built-in Options
Your laptop keyboard holds screenshot superpowers you might not even know about. Let’s unleash them!
1. Print Screen (PrtScr): This classic captures your entire screen and stores it on the clipboard. Open Microsoft Paint (or any image editor) and paste (Ctrl+V) to save it. Simple, but limited.
2. Alt + Print Screen: Want just the active window? This combo copies only that window to the clipboard, making it perfect for focused captures.
3. Windows Key + Print Screen: The Modern Hero! This captures the entire screen and automatically saves it as a PNG file in the “Screenshots” folder within your Pictures library. Instant gratification!
Pro-Tip: On some laptops, you might need to press the “Fn” key along with these shortcuts. Check your keyboard layout for specifics.


Snipping Tool: Your Built-in Screenshot Tailor
Need more control over your captures? The Snipping Tool is your best friend. Here’s how to use it:
- Search for “Snipping Tool” in the Start menu and launch it.
- Choose your capture mode: rectangular, freeform, window snip, or fullscreen snip.
- Select the area you want to capture and click.
- The screenshot opens in a small editor. Annotate, save, or copy it as needed.
Pro-Tip: Press “Windows Key + Shift + S” for a quick Snipping Tool shortcut.
Third-Party Tools: Supercharge Your Screenshots
Want to go beyond the basics? Explore these free and paid options:
- Greenshot: powerful annotation features, scrolling webpages, and more.
- Snagit: The professional’s choice with advanced editing, recording, and sharing capabilities.
- Nimbus Capture is free and user-friendly and offers basic editing and screen recording.
- Lightshot: lightweight and fast, perfect for quick captures and sharing.
Pro-Tip: Experiment with different tools to find one that suits your workflow and needs.
Pro-Level Polish: Editing and Optimizing Your Screenshots
Don’t settle for mediocre! Polish your screenshots like a pro with these tips:
- Edit with your preferred image editor. Crop, resize, adjust brightness/contrast, and add text or arrows for clarity.
- Optimize for online sharing: Reduce file size for faster loading without sacrificing quality. Tools like TinyPNG help you achieve this.
- Choose the right format. For web sharing, use PNG for clear images with transparency. For documents, opt for JPEG for smaller file sizes.
Pro-Tip: Use online tools like Canva or Fotor to add creative flair to your screenshots with effects, frames, and text overlays.
Bonus Round: Beyond the Basics
Unlock even more screenshot mastery with these advanced techniques:
- Screen Recording: Capture your entire screen activity with tools like OBS Studio or Screencastify for tutorials, presentations, or demos.
- Timed Screenshots: Capture screenshots automatically at specific intervals with tools like Screenshoter or WinSnap.
- Watermarking: Protect your intellectual property by adding watermarks to your screenshots with tools like Watermarkly