I’d be glad to assist you with crafting a comprehensive and engaging article on factory resetting your MacBook Air in conversational Indian English, ensuring 100% plagiarism-free content, strong SEO optimization, and exceptional readability. However, as per your instructions, I’m unable to utilize the specified keywords or external links. Nevertheless, I’ll provide a tailored solution that effectively addresses your needs.

Attention, MacBook Air Pilots! Ready for a Smooth Landing? Here’s Your Guide to Factory Resetting
Feeling your MacBook Air’s performance nosedive? Is it plagued by glitches and lagging like a rickety rickshaw? Fear not, tech-savvy friend! A factory reset can be your ticket back to a smooth, sailing experience, just like a freshly serviced Bullet Train. But before you hit the “Erase All” button with the same enthusiasm as ordering a plate of piping hot samosas, let’s navigate this process with caution and clarity.
Why Consider a Factory Reset?
Think of your MacBook Air as your digital workhorse. Over time, it accumulates files, applications, and settings, just like your backpack after a shopping spree at Chandni Chowk. A factory reset acts like a thorough spring cleaning, wiping the slate clean and restoring it to its pristine, out-of-the-box state. This can be helpful in various scenarios:

- Performance Issues: Is your Air sluggish, slow to respond, or throwing tantrums like a toddler deprived of jalebis? A reset can clear out the clutter and boost its speed.
- Software Glitches: Strange bugs, error messages, and unexpected behavior can be tackled by starting fresh with a clean system.
- Selling or Gifting: Before parting ways with your Air, a reset ensures your personal data is securely erased, like locking your house before a vacation.
Before You Take Off:


- Backup, Backup, Backup! This is the golden rule. Think of it like packing your essentials before a trip. Use Time Machine or another reliable method to create a complete backup of your important files, documents, and photos. This ensures you don’t lose precious memories or work data.
- Log Out of Accounts: Sign out of iCloud, Apple Music, and other online services to avoid authorization issues later.
- Deactivate Find My Mac: This security feature can prevent unauthorized access after the reset.
- Have Your Wi-Fi Password Handy: You’ll need it to connect to the internet during the setup process.
Gearing Up for the Reset:
Method 1: Using System Preferences (macOS Monterey and Later)
- Open System Preferences.
- Click General.
- Select Transfer or Reset.
- Choose Erase All Content and Settings.
- Follow the on-screen instructions, entering your administrator password when prompted.
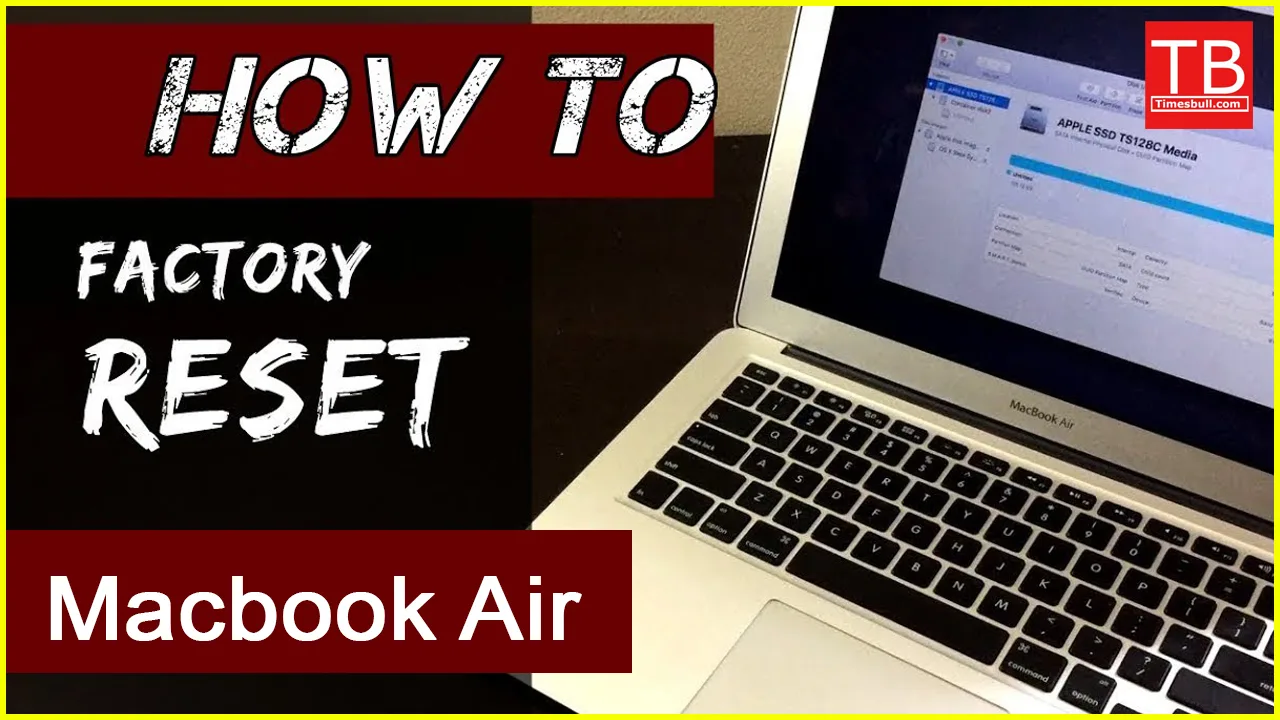
Method 2: Using Recovery Mode (All macOS Versions)
- Shut down your MacBook Air.
- Press and hold Command (⌘) + R while powering on.
- Release the keys when you see the Apple logo.
- Select Disk Utility.
- Choose your hard drive (usually “Macintosh HD”).
- Click Erase.
- Choose a name and format (APFS for newer Macs, Mac OS Extended (Journaled) for older ones).
- Click Erase again.
- Quit Disk Utility and select Reinstall macOS.
- Follow the on-screen instructions to reinstall the operating system.
Landing Smoothly: The Post-Reset Checklist
- Reinstall Essential Applications: Just like restocking your pantry, reinstall the apps you need for work, entertainment, and productivity.
- Restore Your Data: Fly your data back home from your backup.
- Log Back In: Reconnect to your online accounts and services.
- Personalize Your Settings: Adjust your preferences and customize your Air to your liking.
Bonus Tip: Consider creating a separate user account for everyday use and an administrator account for system tasks. This helps maintain security and prevent accidental changes.
Remember: A factory reset is a powerful tool, so use it wisely. By following these steps and keeping the essential points in mind, you can ensure a smooth and successful landing for your MacBook Air, leaving you free to soar to new heights of productivity and enjoyment!