Picture this: You’re in the middle of something important on your trusty Dell laptop. Maybe you’re firing off an email to your boss, or finally tackling that online shopping order. And then it happens – a key sticks, crumbs fall out from under the buttons, and the once-smooth typing experience feels rough and unpleasant. Ugh!

A dirty laptop keyboard isn’t just gross; it can actually mess with how your computer works. But don’t worry, getting your keys sparkling clean is easier than you might think. In this guide, we’ll share simple DIY (do-it-yourself) cleaning tricks perfect for Indian homes and offices. Let’s get started!
Why You Should Clean Your Laptop Keyboard
Let’s be honest, our laptops go everywhere with us. We snack while we work, type with dusty fingers after a long day, and sometimes even accidentally spill a bit of our chai! Here’s why regular cleaning is important:
- Hygiene: Keyboards collect so much – skin oils, food particles, pet hair, you name it! This creates a breeding ground for germs.
- Performance: Dust and debris buildup can make keys sticky, unresponsive, or lead to malfunction.
- Lifespan: A clean keyboard works better and lasts longer.
- Aesthetics: Let’s face it, a grimy keyboard is just not a pleasant sight.
Tools You’ll Need
Gather these simple supplies before you begin:

- Microfiber cloth: Soft and lint-free, perfect for wiping surfaces
- Cotton swabs (Q-tips): Handy for getting into tight spots
- Isopropyl alcohol (rubbing alcohol): A mild cleaner and disinfectant (use sparingly)
- Compressed air can: To blow out loose debris
- Small bowl: To hold cleaning solution
- Toothpick: (Optional) For carefully easing out stubborn gunk
Step-by-Step Cleaning Instructions
- Power Down and Unplug: Always turn off and disconnect your Dell laptop from the charger before you start cleaning.
- Loose Debris Shake-Out: Turn your laptop upside down and give it a gentle shake to dislodge any loose bits.
- Blow it Out: Use compressed air to blast away dust and crumbs from between the keys. Hold the can at an angle to avoid forcing debris further inside.
- Gentle Surface Wipe: Lightly dampen a corner of your microfiber cloth with isopropyl alcohol. Don’t soak it! Wipe the tops of the keys and the surrounding area.
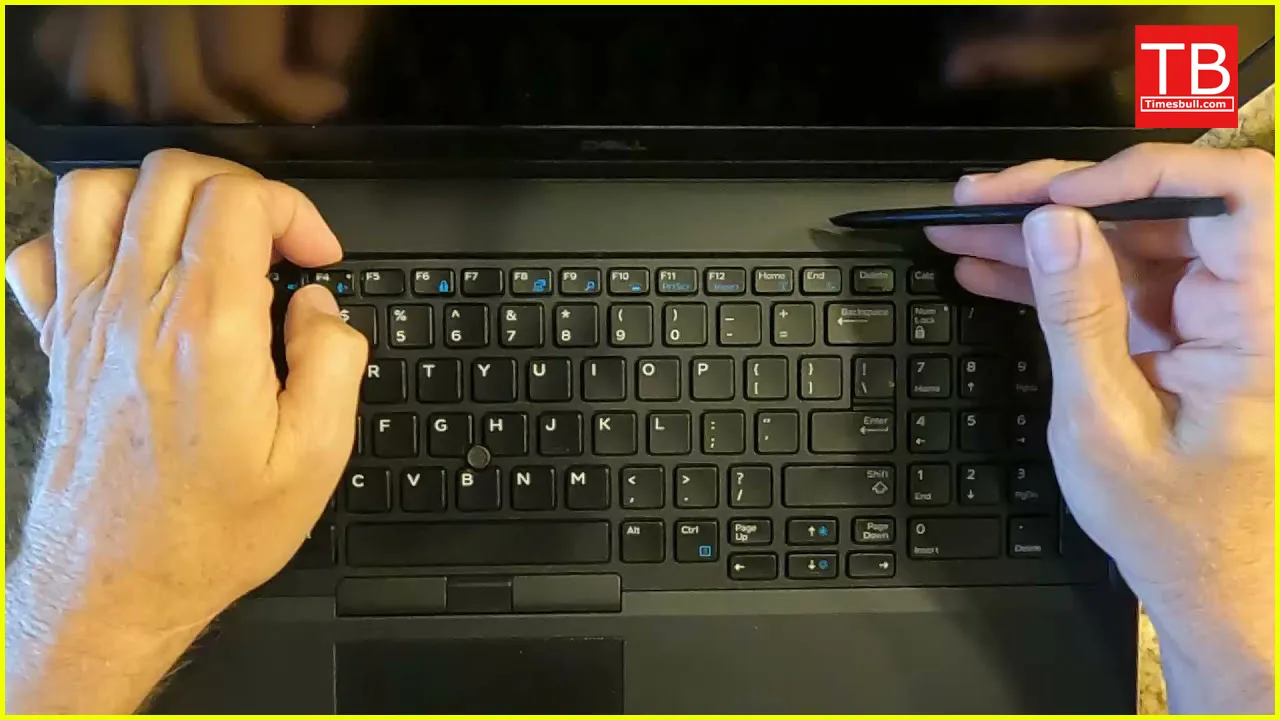
- Tackle the Crevices: Dip a cotton swab in a tiny bit of isopropyl alcohol. Carefully clean around the sides of the keys and in any visible gaps.
- Stubborn Grime: If there are particularly sticky spots, use a toothpick very gently to dislodge the gunk.
- Dry Completely: Let your keyboard air fully before closing the laptop and powering it back on.
How Often Should You Clean Your Laptop Keyboard?
This depends on how often you use it and your environment:
- Heavy use/dusty setting: Aim for a light cleaning every week or two.
- Moderate use: A monthly cleaning should be enough.
- Occasional use: Cleaning every few months is fine.
Bonus Tips
- Wash your hands: Before using your laptop, wash your hands to minimize oil and dirt transfer.
- No harsh liquids: Never spray anything directly on your keyboard. Harsh chemicals can damage the keys.
- Be gentle: Laptop keys are delicate, so don’t use excessive force.
Table: Cleaning Frequency
| Usage Level | Cleaning Frequency |
|---|---|
| Heavy | Every 1-2 Weeks |
| Moderate | Every Month |
| Occasional | Every Few Months |