Aadhaar Update: Have you noticed an outdated picture on your Aadhaar card, or perhaps your address has changed since getting it made? Don’t worry, updating your Aadhaar card is a breeze! This comprehensive guide will walk you through the entire process, ensuring your information remains accurate and readily verifiable whenever needed.

Why Update Your Aadhaar Card?
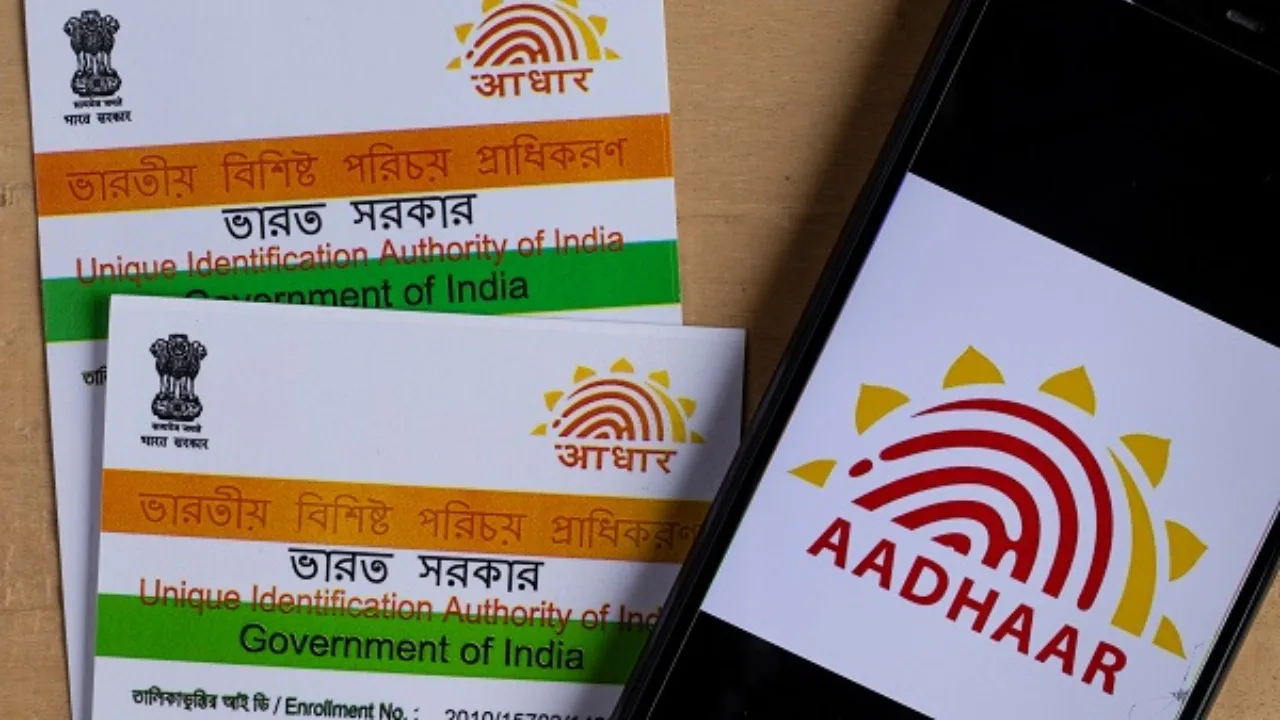
An Aadhaar card serves as a crucial document in today’s India, acting as proof of identity and address. However, its effectiveness hinges on the accuracy of the information it contains. Outdated information can lead to inconveniences, such as rejections during verification at banks, government offices, or even while traveling.
Maruti Suzuki Swift 2024: Booking, features, launch date and price
2024 Bajaj Pulsar 125: Powerful bike with powerful updates!

Therefore, staying updated is crucial. Thankfully, the process is surprisingly straightforward, thanks to the efforts of the Unique Identification Authority of India (UIDAI).
What Information Can Be Updated?
Aadhaar information falls into two broad categories:
- Demographic Information: This refers to details related to your location, such as your address and locality.
- Biometric Information: This encompasses unique physical attributes like your name, fingerprints, and iris scans.
Updating Aadhaar from the Comfort of Your Home
UIDAI empowers you to update your demographic information, specifically your address, online through their official website (https://uidai.gov.in/). Here’s a step-by-step guide:
- Visit the UIDAI website: Go to https://uidai.gov.in/ and navigate to the “Update Aadhaar” section.
- Enter your details: Provide your Aadhaar number and registered mobile number.
- Receive and enter OTP: An OTP (One-Time Password) will be sent to your registered mobile number. Enter this code for verification.
- Select “Address Update”: Choose the option to update your address.
- Provide new address: Enter your updated address details accurately, ensuring they match the documents you’ll be uploading.
- Upload address proof: Scan and upload a valid document as proof of your new address. Accepted documents include passport, ration card, electricity bill, bank statement, etc. Ensure the document is clear and legible.
- Review and submit: Carefully review all the information you’ve entered and click “Submit” to initiate the update request.
Updating Aadhaar at an Aadhaar Seva Kendra (ASK)
While address updates can be done online, some information requires a visit to your nearest Aadhaar Seva Kendra (ASK). This includes:
- Biometric information: Updating your date of birth, name (minor corrections), or photograph necessitates a visit to an ASK.
- Other information: Updating your registered mobile number or email address also requires an ASK visit.
Here’s how to update your Aadhaar at an ASK:
- Locate an ASK: Use the UIDAI website (https://uidai.gov.in/) to find your nearest ASK.
- Visit the ASK: Go to the designated ASK during their working hours.
- Fill the Aadhaar Update/Correction Form: Obtain and fill out the relevant form, specifying the information you wish to update.
- Submit documents: Provide original documents as proof for the update you’re requesting. Refer to the UIDAI website for a list of accepted documents.
- Biometric verification: You’ll undergo biometric verification through fingerprint or iris scan.
- Pay the fee: A nominal fee, usually between Rs. 50 and Rs. 150, is applicable for certain updates. You can inquire about the specific fee at the ASK or check the UIDAI website beforehand.
- Receive acknowledgement slip: You’ll be provided with an acknowledgement slip containing a Unique Request Number (URN) for tracking the update status.
Additional Tips for a Smooth Update Process:
- Ensure your mobile number is registered with your Aadhaar: This is crucial for receiving OTPs and updates. If not registered, visit an ASK to get it registered.
- Carry original documents: Ensure you have the original documents as proof for the update you’re requesting. Photocopies are not accepted.
- Maintain a copy of the acknowledgement slip: Keep the slip handy for tracking the update status or contacting UIDAI in case of any issues.
- Beware of scams: UIDAI never asks for personal information or fees over the phone or email. Be cautious of any such attempts and report them immediately.
By following these simple steps, you can effortlessly update your Aadhaar card, ensuring its accuracy and continued usefulness in your daily life. Remember, keeping your Aadhaar information up-to-date empowers you to seamlessly access various essential services and benefits across India.