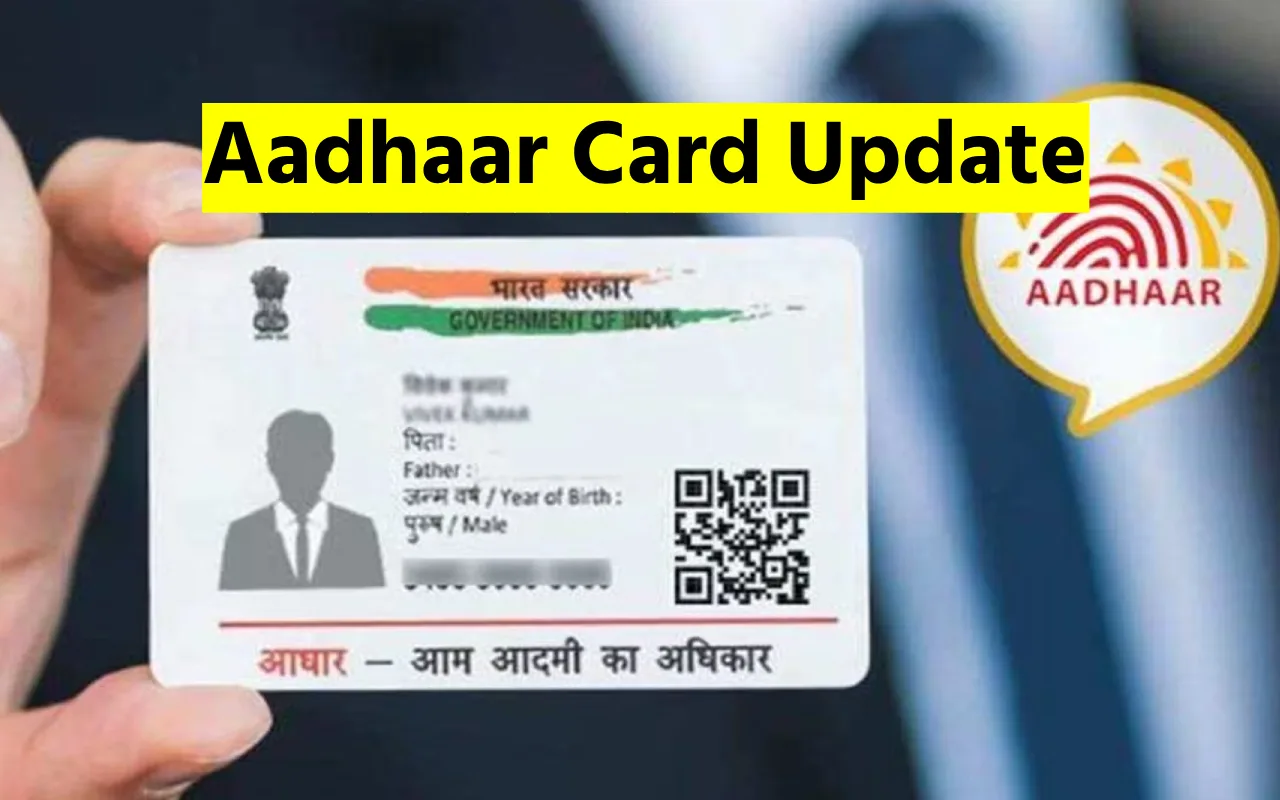
Tired of long queues and confusing processes? Updating your Aadhaar card just got simpler! Now, you can rectify errors and modify key details like name, address, date of birth, and gender entirely online, from the comfort of your home. Thanks to the government’s push for Digital India, convenience and efficiency are now at your fingertips.

No more wasted hours! Say goodbye to the hassle of crowded Aadhaar centers and waiting in line. This guide will empower you to take control of your Aadhaar information with ease.
Mistakes happen, but don’t worry! Whether it’s a typo in your name, an outdated address, or an incorrect date of birth, you can fix it all online. This article will be your one-stop solution for understanding the entire process:
- Identifying eligible updates
- Step-by-step instructions
- Important things to remember
But wait, there’s more! While demographic details can be modified online, remember that biometric updates (photo, fingerprint, and iris) still require a physical visit to an Aadhaar Seva Kendra. We’ll also shed light on how to handle mobile number and email ID updates.

Ready to embark on your Aadhaar update journey? Let’s dive in!
Eligible Updates at Your Fingertips:
The online portal empowers you to update the following fields in your Aadhaar card:
- Name: Correct any misspelling or inaccurate information.
- Address: Update your current residential address for seamless verification.
- Date of Birth: Ensure your date of birth matches official records.
- Gender: Rectify any errors in gender representation.
A Step-by-Step Guide to Online Aadhaar Update:
1. Visit the Official Portal:
Head to the myAadhaar portal (https://myaadhaar.uidai.gov.in/) and log in using your registered mobile number and Aadhaar number.
2. Choose “Update Aadhaar”:
From the dashboard, select “Update Aadhaar” and proceed to “Demographic Data Update.”
3. Review and Select Details:
Carefully review the pre-filled details and choose the field you want to update.
4. Enter Correct Information:
Provide the accurate information you wish to replace the existing data with. Double-check for typos!
5. Upload Supporting Documents:
Scan and upload copies of relevant documents to support your update request. Ensure they are clear and in the specified format.
6. Pay the Fee (if applicable):
There might be a nominal fee for certain updates. Pay securely using online payment options.
7. Submit and Track Request:
Review your request summary, submit it, and note the Update Request Number (URN) for tracking purposes.
8. Monitor Status:
You can track the progress of your update request using the URN on the portal.
Remember:
- Keep your registered mobile number active for receiving OTPs and updates.
- Use a stable internet connection throughout the process.
- Ensure all uploaded documents are valid and clear.
- Be patient as processing times may vary.
Mobile Number and Biometric Updates:
Currently, updating your mobile number and biometric details (photo, fingerprint, and iris) online is not possible. You’ll need to visit an Aadhaar Seva Kendra for biometric verification and mobile number registration.
For mobile number updates, you can refer to the official UIDAI website for detailed instructions. Remember, you cannot update your email ID directly.
Stay Informed, Stay Empowered:
By knowing your rights and the available online options, you can manage your Aadhaar information efficiently. This guide equips you with the knowledge and confidence to navigate the Aadhaar update process smoothly. Remember, staying informed and taking action ensures your Aadhaar card reflects your accurate information, always!