Phone in Water Save Tricks : If water enters your mobile then how to drain it
What to Do If Water Enters Your Mobile : A Simple Guide
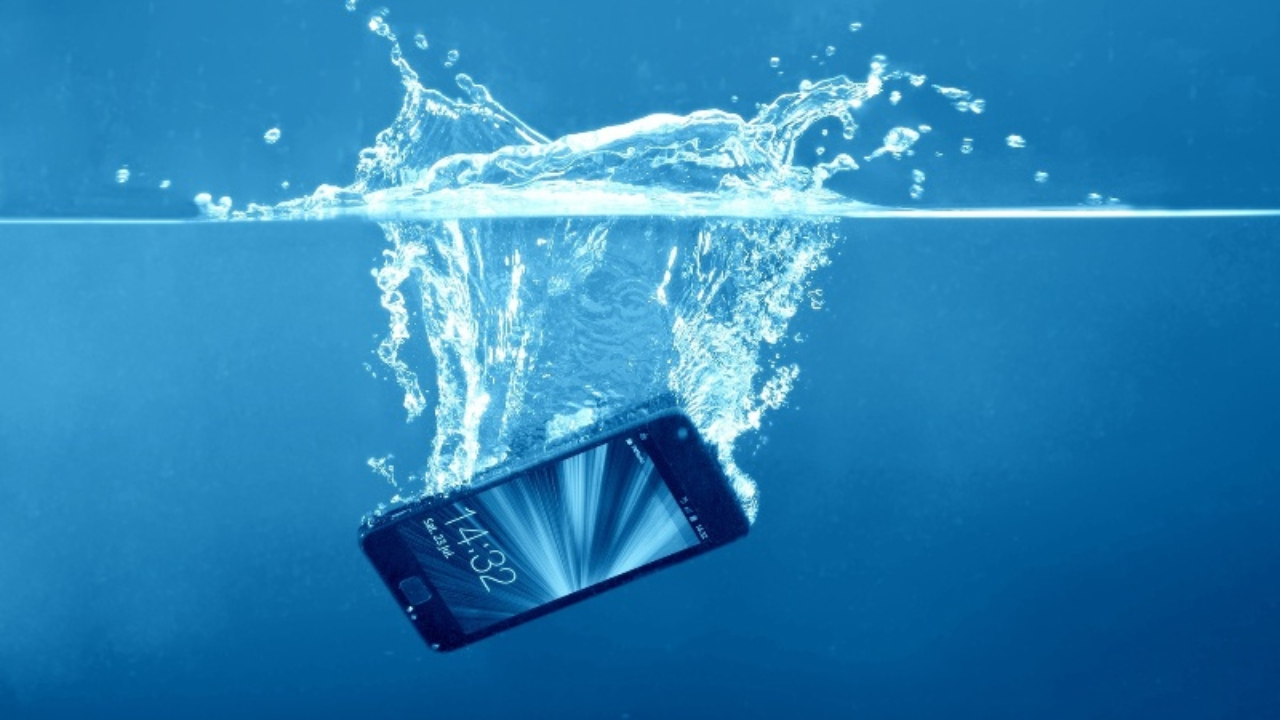
Mistakes do occur, and the worst thing that can possibly go wrong with your phone is water damage. Perhaps you spilled something on it, got caught in an unexpected rainstorm, or you took a rather unexpected leap into the pool. Water and phones don’t mix. If your phone is wet, don’t pani there are things you can do to limit the damage. Just read this simple step by step guide to help you.
“Bye-Bye, Battery.”
1. Turn Off Your Phone Immediately
You should switch off your phone immediately. It will prevent any electrical damage from occurring when water spills over the internal components. Press the power button to switch it off, and do not use it, even if it appears to be functional even after that.
2. Remove the Battery (If Any)
If your phone does have a battery that can be removed, take it out immediately. This cuts off the power to the internal devices of the phone. If your phone has no removable battery, don’t attempt to remove it; proceed to step 3.
3. Dry the Outside
Gently pat your phone’s outer surface dry using a soft towel or cloth. Pay attention to areas like charging port, speaker, and the buttons where the water might be seeping through. The focus here is on drying the exterior as much as possible before attempting to dry out the interior.
4. Use a Vacuum or Blow Air
A compressed air or a small nozzle vacuum may be utilized to pull water out of tiny ports such as the headphone jack or charging hole. Use suction or blow softy to drain any water that is stuck in. Be cautious not to push too hard as it will drive the water deeper inside.
5. Attempt the Rice Method (Optional)
The rice trick only desiccates cell phones and, on occasion, will. Put your phone in a bowl of raw rice and let it sit for 24-48 hours. The water will be absorbed by the rice. For what it’s worth, this trick won’t work quite so effectively as some, because rice won’t necessarily absorb all the water.
6. Use Silica Gel Packs
If you do have silica gel packets (the little packets typically found in shoes or electronics), you can use those to absorb the water. Put your phone and the silica gel packets in an air-tight container and leave it alone for 24-48 hours. Silica gel is superior to rice because it’s specifically made to be used to absorb water.
7. Avoid Heat
It may be tempting to dry your phone out with a hairdryer or in the sun, but don’t. Heat can destroy the electronics in your phone. Air-dry your phone at room temperature.
8. Check for Water Damage Signs
There are phones that have water damage indicators, either on the SIM card slot or battery area. The indicator turns red if the phone is damaged by water and needs repair. Check your phone’s manual for indicators.
9. Test the Phone After Drying
After you’ve given your phone time to dry, turn it on to see if it works properly. Test the screen, speakers, camera, and charging port. If everything seems to be working, you’re in luck. If not, it might be time to get it fixed.
10. Visit a Repair Shop If Needed
If the phone is still not working after you’ve dried it, take it to a repair shop. They’ll crack the phone open, clean out the interior, and replace any broken parts. The sooner you do, the greater chance your phone has of being repaired.
Water damage is horrific, but staying fast can cut the potential harms down to nothing and provide your phone with the best possible chance at survival. Remember to stay preventative next time—take pro-active measures and buy a water-proof case or water-resistant phone to have piece of mind down the line.
Latest News
- Motorola Edge 60 Fusion Review: Mid-Range King or Outdated?

- FD Update– Breaking Your FD Early? Know the consequences

- Bank Holiday–RBI Announces Closure of SBI, HDFC and All Banks Next Week, Save the Dates

- Samsung Galaxy S26 Ultra Amazon Deal – Get ₹23,509+ Discount with Bank Offers and Exchange Benefits

- Best Scooters For College Girls 2026 – Perfect Mix Of Mileage, Style And Lightweight Design

- Kodak Matrix QLED Google TV 2026 Series Launched in India Just Under 10,999

- Senior Citizen FD Rates: सीनियर सिटीजन को यहां से मिल रहा बंपर ब्याज, जल्द करें निवेश

- UGC NET 2026 – How to Apply for UGC NET June 2026? Last Date May 24 Till 11:50 PM at ugcnet.nta.nic.in

- Mahindra Thar New Version Leaked – Powerful Engine And Advanced Features Coming

- Jio 5G Unexpected Speed Drop: Network Slowdowns Frustrate Users