Big changes in PF! Know A to Z about UAN, reset password, update KYC
PF- Big news for PF account holders. EPFO made a lot of changes in PF. If you are employed, then you must have an Employee Provident Fund account. This is a very important saving for your retirement. And when it comes to PF, one thing
Epf
PF- Big news for PF account holders. EPFO made a lot of changes in PF. If you are employed, then you must have an Employee Provident Fund account. This is a very important saving for your retirement. And when it comes to PF, one thing is most important – your UAN (Universal Account Number). This is a 12-digit unique number that EPFO (Employees Provident Fund Organization) issues to every member.
Through UAN, you can view all your PF accounts at one place, download your passbook, update KYC and also make online claims. But many times people face problems in activating UAN, resetting forgotten password, updating KYC or merging old accounts. Don’t worry! Today we will tell you the step-by-step method of all these tasks in easy language.
What is UAN and why is it necessary?
UAN is your permanent PF account number. No matter how many jobs you change, your UAN remains the same. The PF contribution of each new job goes to the new member ID/PF account linked to this UAN. Through this, you can easily manage all your PF accounts.
How to activate UAN? (First time)
- Go to EPFO Member Portal (unifiedportal-mem.epfindia.gov.in).
- Click on ‘Activate UAN’ in the ‘Important Links’ section.
- Enter your UAN number, Aadhaar number, name, date of birth, mobile number and email ID (registered with EPFO).
- Enter the captcha code.
- Click on ‘Get Authorization Pin’. An OTP will be sent to your registered mobile.
- Enter OTP and click on ‘Validate OTP and Activate UAN’.
- Your UAN will be activated and the password will be sent to your mobile via SMS.
Forgot your password? Reset it like this
- Go to the login page of EPFO member portal.
- Click on ‘Forgot Password’ option.
- Enter your UAN number and captcha code.
- Click on ‘Submit’.
- Now you will be asked for your name, date of birth and gender. Verify it.
- After this, the option of verification through Aadhaar or PAN will come. Select Aadhaar (if linked).
- Enter your Aadhaar number and click on ‘Verify’.
- OTP will come on the mobile number linked to your Aadhaar.
- Enter OTP and verify.
- Now you will get the option to create a new password. Enter the new password twice and click ‘Submit’. Your password will be reset.
How to change/update mobile number and email ID?
- After login Click on ‘Manage’ in the top menu and then select ‘Contact Details’.
- Tick the checkbox against ‘Change Mobile No.’ or ‘Change Email Id’.
- Enter new mobile number or email ID.
- Click on ‘Get Authorization Pin’. OTP will be sent to your mobile.
- Enter the OTP and click on ‘Save Changes’. Your details will be updated.
How to update KYC (Bank Account, PAN, Aadhaar)?
- After login Go to ‘Manage’ in the menu and click on ‘KYC’.
- Now you will see options to update Bank, PAN and Aadhaar. Click on the detail you want to update.
- Fill in the required details (like bank account number, IFSC, PAN number, Aadhaar number) and your name (as it appears in that document).
- There is no need to upload the document (if Aadhaar or PAN is verified online). A copy of the cancelled cheque may be required for the bank.
- Save the details.
- Your request will go to your company (employer) for approval. After approval by the company, your KYC will be updated. You can check its status in the ‘KYC’ section.
Sweta Mitra
Next Article
Petrol-Diesel Price Today: बढ़ोतरी के बाद इन शहरों में चेक करें पेट्रोल-डीजल की प्रति लीटर कीमत
वैश्विक बाजार में कच्चे तेल के दाम में लगातार उठा-पटक का दौर देखने को मिल रहा है. अमेरिका, इजरायल ईरान के बीच चल रहे भीषण संघर्ष की वजह से तो यह बाजार काफी प्रभावित हुआ, जिससे कच्चे तेल के दाम काफी ऊपर दर्ज किए जा रहे हैं.
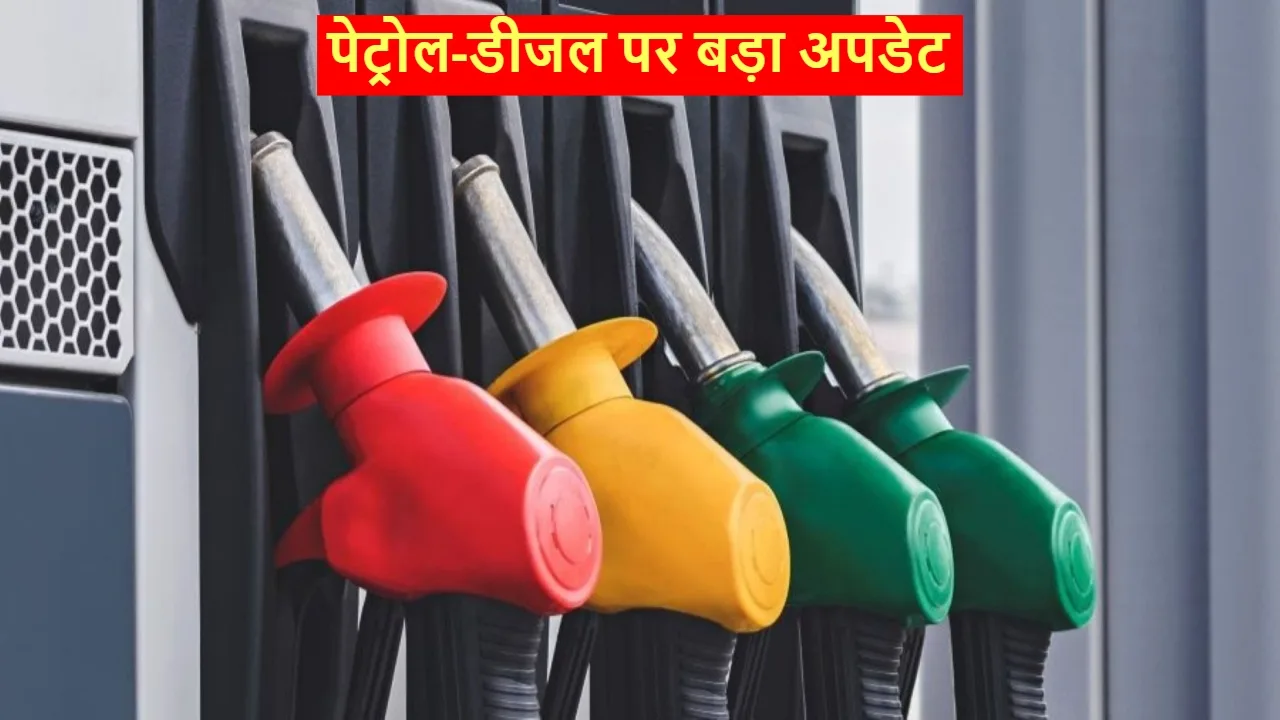
Petrol-Diesel Price Today: मिडिल ईस्ट (Middle East) में तनाव की वजह से कच्चे तेल की सप्लाई प्रभावित होने का असर अब भारत में भी पड़ने लगा है. वैश्विक बाजार (International Market) में जहां कच्चे तेल के दाम अंबर में दर्ज किए जा रहे हैं. एक दिन पहले भारतीय पेट्रोलियम कंपनियों (Indian Petroleum Companies) ने भी अपना घाटा पूरा करने के मकसद से आम नागरिकों के लिए कीमतों को बढ़ा दिया.
देशभर में पेट्रोल-डीजल की कीमत (petrol-diesel price) करीब 3-3 रुपये प्रति लीटर तक बढ़ गई. इससे आम नागरिकों से लेकर नौकरीपेशा तक वाले लोगों को बड़ा झटका लगा. गाड़ी या किसी अन्य वाहन में पेट्रोल-डीजल भरवाने से पहले शहर-वाइज 1 लीटर प्रति लीटर की कीमत चेक कर सकते हैं.
Write a Comment