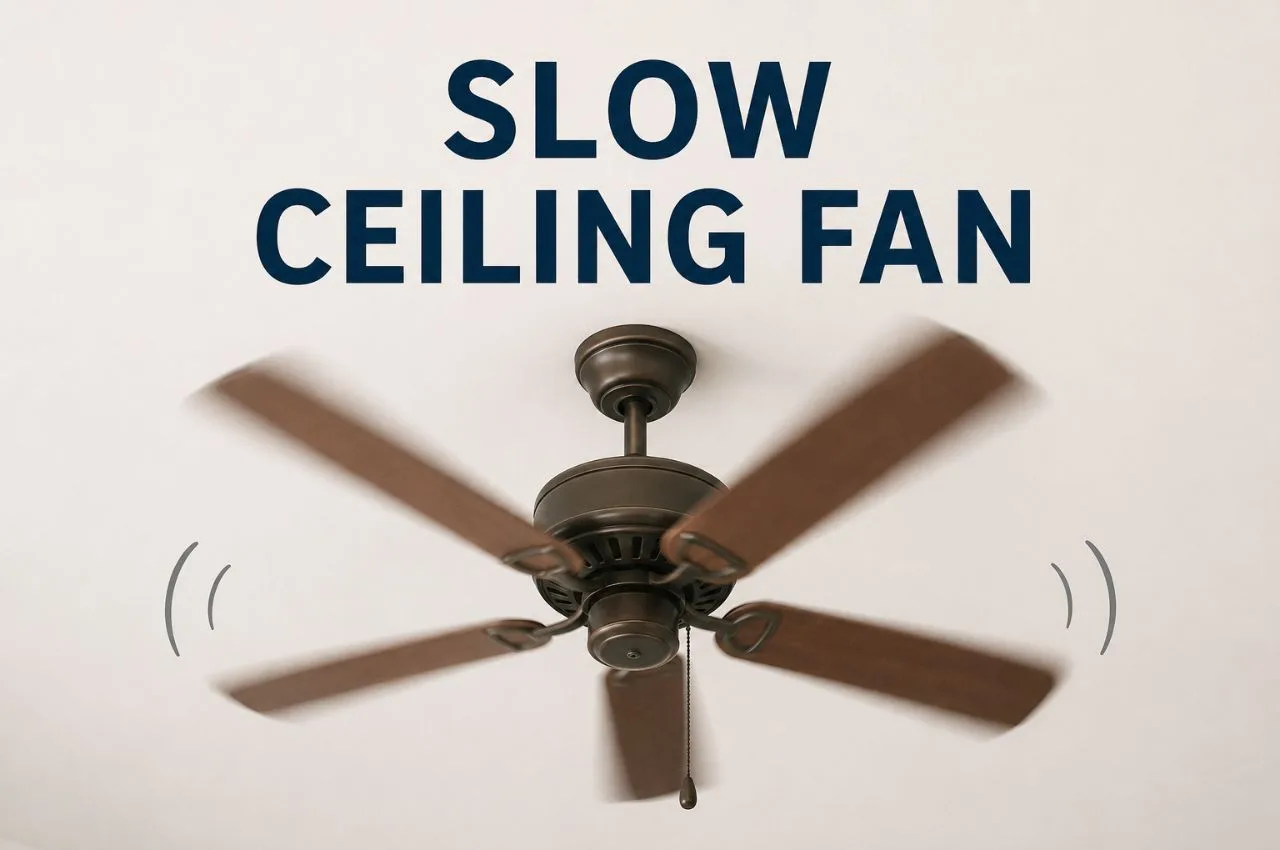
Slow Ceiling Fan? 5 Easy Ways to Troubleshoot and Increase Fan Speed Safely
Slow Ceiling Fan: If your ceiling fan is moving a bit slow, it doesn’t always mean the motor is completely dead. Try looking at a few basics first, because there are 6 easy ways to troubleshoot and get it spinning right again.
Slow Ceiling Fan
When summer temperatures hit their highest, a sluggish ceiling fan can make the room feel like a full-on furnace. You nudge the regulator toward max speed, yet the blades keep turning at a tortoise pace, kind of stubborn. Before you dismiss the unit as broken, and fork out thousands for a brand-new model, you need to realize that a dip in performance is most often not the same thing as a fully dead motor.
In fact, more than 90% of slow ceiling fan troubles come from everyday electrical deterioration and tear, or simple mechanical friction. If you follow a steady troubleshooting path, you can pinpoint the real problem and return the fan to its top Revolutions Per Minute (RPM) level with these 6 easy fixes.
1. The “Free Spin” Diagnostic Test
Before you touch any wiring, or internal bits, you need to figure out if the speed issue is more mechanical or electrical.
The Check: Turn off the power completely first, then grab a sturdy ladder. Next, give the fan blades a gentle push with your hand.
The Result: If the blades spin smooth and coast for a long time before stopping, then your mechanical system is likely fine , and the problem sits in the electrical side of things. If the blades feel stiff, push back against you, or grind and then stop very fast, you are probably dealing with mechanical drag in the internal ball bearings.
2. Replace a Weak or Blown Capacitor
If your fan passed the hand-spin test but then it spins kinda sluggish when you power it on, a bad capacitor is usually the culprit. That capacitor works like a little backup energy reservoir , it gives the motor the needed phase shift and some electrical torque so the rotor can keep moving smoothly at higher speeds.
The problem: is pretty common though: after years of constant use, the capacitor can lose its capacitance rating, or it can degrade from those line voltage bumps and dips. When the capacitor is weak, it can’t deliver enough oomph to the motor windings, then you end up with a big fall in top speed.
The Fix: basically, is this. Turn off the main circuit breaker first. Then slide down the upper canopy cover near the ceiling to get access to the internal wiring. Find the small black or white plastic box, that’s the capacitor. Check the rating printed on it. For most household fans in India, you’ll often see something around 2.25 microfarad.
Now snip the two wires carefully, install a matching replacement capacitor (usually it’s less than ₹50 from a nearby hardware store), and then tape and secure the connections with proper electrical insulation tape.
Safety note on ratings: don’t install an oversized capacitor like a 4 pack meant for agricultural pumps just to push a faster speed. If the capacitance is way too high, it tends to pour excessive current straight into the primary motor copper windings and that overload makes the motor run hot and burn out in just a few weeks, sometimes even sooner.
3. Clean and Deep-Degrease the Ball Bearings
If your first manual spin check showed stiff blades, kind of hard to turn , then the internal ball bearings are likely either clogged with debris, or they’ve gone completely dried out.
The Problem: ceiling fans usually live in dusty air. Over time, little floating dust bits, plus kitchen grease, plus lint slip past the outer metal casing and mingle with the inside lubricating grease. That mixture then turns into a tacky, abrasive paste, and you feel it as slower rotational movement, almost like it’s resisting you.
The Fix: after the power is safely isolated, clean those small little gaps around the central rotating spindle. Put a few drops of a high-grade penetrating oil, or a specialized machine oil (sewing machine oil works too) straight into the upper and lower bearing tracks. Then, rotate the blades back and forth by hand so the liquid can flow into the ball tracks.
Try not to rely on WD-40 as a long-term lubricant, it evaporates fast and can strip away leftover factory grease, leaving you right back at square one.
4. Strip Off Thick, Velocity-Killing Blade Dust
This is kinda the most overlooked physical cause for dropping airflow rates, but somehow it still takes zero technical know how to sort it out, if you know what to look at.
The Problem: as fan blades cut through air masses, static charges end up sticking a thick heavy film of dust onto the leading edges and also onto the underside, of the blades. That dust layer changes the blades aerodynamic shape, so air resistance goes up a lot. On top of that, the extra mass makes the motor work harder, and it also knocks down those top end speeds
The Fix: household trick take an old pillowcase and slide it over just one fan blade. Then press it down pretty firmly against the flat surfaces, hold it there for a second, and pull it back. The fabric ends up wiping off the caked on grime while catching the loose dust clumps inside the “bag”, so they don’t fall back onto your furniture or the floor.
5. Check for Faulty or Mismatched Speed Regulators
Sometimes, the issue isn’t even in that ceiling fan thing… it s more inside the wall switchboard panel, really.
The problem: usually starts with those old-school, bulky, high-resistance wire regulators, they just wear down with time. And then there are the cheaper electronic step-regulators, they can also go bad, with internal semiconductor breakdown happening. When the regulator breakdowns internally it can add an unwanted voltage drop across the circuit, so the fan just doesn’t get the full power, even when you flip it to the highest step (that’s “Step 5”).
The fix: is pretty straightforward. You can test it by temporarily bypassing the regulator completely, and connect the fan line directly to a normal ON/OFF switch. If the fan immediately jumps back to near maximum RPM, then yeah your regulator is defective and it needs a quick replacement, not later.
Sachin Kumar
Next Article
DA Hike by 2%, Direct benefit to 16 lakh employees, pensioners
DA Hike: Big decision by the government. Today marks a notable occasion for government employees and pensioners in Uttar Pradesh. Chief Minister Yogi Adityanath has sanctioned a 2% rise in the dearness allowance (DA) and dearness relief (DR) for state employees. As a result of

DA Hike: Big decision by the government. Today marks a notable occasion for government employees and pensioners in Uttar Pradesh. Chief Minister Yogi Adityanath has sanctioned a 2% rise in the dearness allowance (DA) and dearness relief (DR) for state employees. As a result of this important decision, the DA for state employees has risen from 58% to 60%.
Deepak Kumar, the Additional Chief Secretary of the Finance Department for the Uttar Pradesh government, released an official government order regarding this on Thursday. This initiative will offer substantial financial relief to millions of state employees in light of increasing inflation.
Write a Comment