Yuvasathi Mobile App: The application process for the West Bengal government’s Yuvasathi scheme has now become easier. Now there is no need to stand in cyber cafes or long queues, it is possible to apply directly from your smartphone through the ‘Banglar Yuvasathi’ app. How to download the app and what are the details of filling the form? Below are the detailed guidelines.
Basic eligibility and precautions for application
It is necessary to know some important conditions before starting the application. Especially for those who are already receiving the benefits of any other allowance from the state government, the rules are slightly different.
Government grants: If the applicant is already receiving any government financial assistance like ‘Lakshmi Bhandar’ or ‘Krishak Bandhu’, then he will not get the benefits of this scheme. However, educational scholarship recipients are eligible to apply.
Age limit and educational qualification: The applicant’s age should be between 21 and 40 years (as on 01-04-2026). It is advisable to mention ‘Unemployed’ or unemployed in place of current occupation in the application form.
How to install the mobile app
Instead of finding it directly on Google Play Store, you have to download this app from a specific government website.
1. First, go to the ds.wb.gov.in portal from your mobile browser.
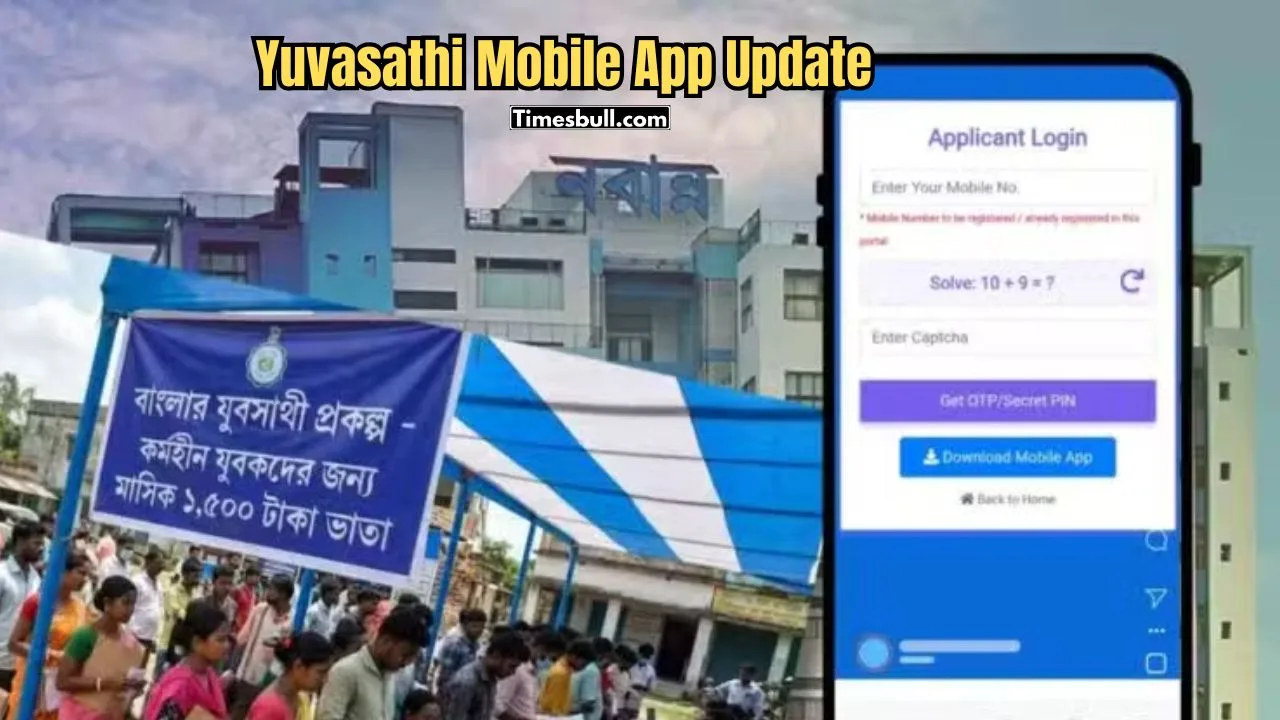
2. From there, go to the main page of ‘Banglar Yubasathi’ and tap on “Apply Online” and then “Download Mobile App” option.
3. Once the app of about 8.27 MB size is downloaded, install it by enabling ‘Unknown Sources’ permission from the phone settings.
Required documents and file size
Keep the following documents ready by scanning or taking pictures while applying. Remember, all documents must be self-attested (self-signed).
PDF format (within 300 KB): Madhyamik admit card, marksheet or certificate, Aadhaar card, voter card, bank passbook and caste certificate (if any).
JPEG format (within 50 KB): Passport size color photograph and your signature.
Step by step application process
Open the app and login through mobile number and OTP verification. Then follow the steps below:
Personal Information: Fill in your name (in capital letters), Aadhaar number, date of birth and guardian’s name. Select the correct category (SC/ST/OBC/General).
Address and Education: Select your district, block, police station and pincode from the dropdown menu. Enter your secondary school board, year of passing and roll number.
Bank Details: Enter the IFSC code and account number of the account in which you want to receive the money accurately by looking at the passbook.
Document Upload: Upload all the documents as per the specified size. A green signal will be displayed if the upload is successful.
Submission: Finally, tick the self-declaration and click “Final Submit”. An application ID will be generated, which you can save in PDF format.
To check the status of your application in the future, go to the “Check Status” option in the app and log in with your mobile number and OTP to know whether your application has been accepted or not.